Quick Start
Learn how to create your first sync in minutes with DejaSync.
Quick Start Guide
Welcome to DejaSync! This guide will walk you through creating your first sync to keep your data synchronized across different platforms in real-time.
What is DejaSync?
DejaSync is a powerful two-way data synchronization platform that keeps your information up-to-date across Google Sheets, Notion, Airtable, Monday.com, and more. Make a change in one app, and it automatically updates everywhere else.
Creating Your First Sync
Follow these four simple steps to set up your first data sync:
Step 1: Navigate to Syncs
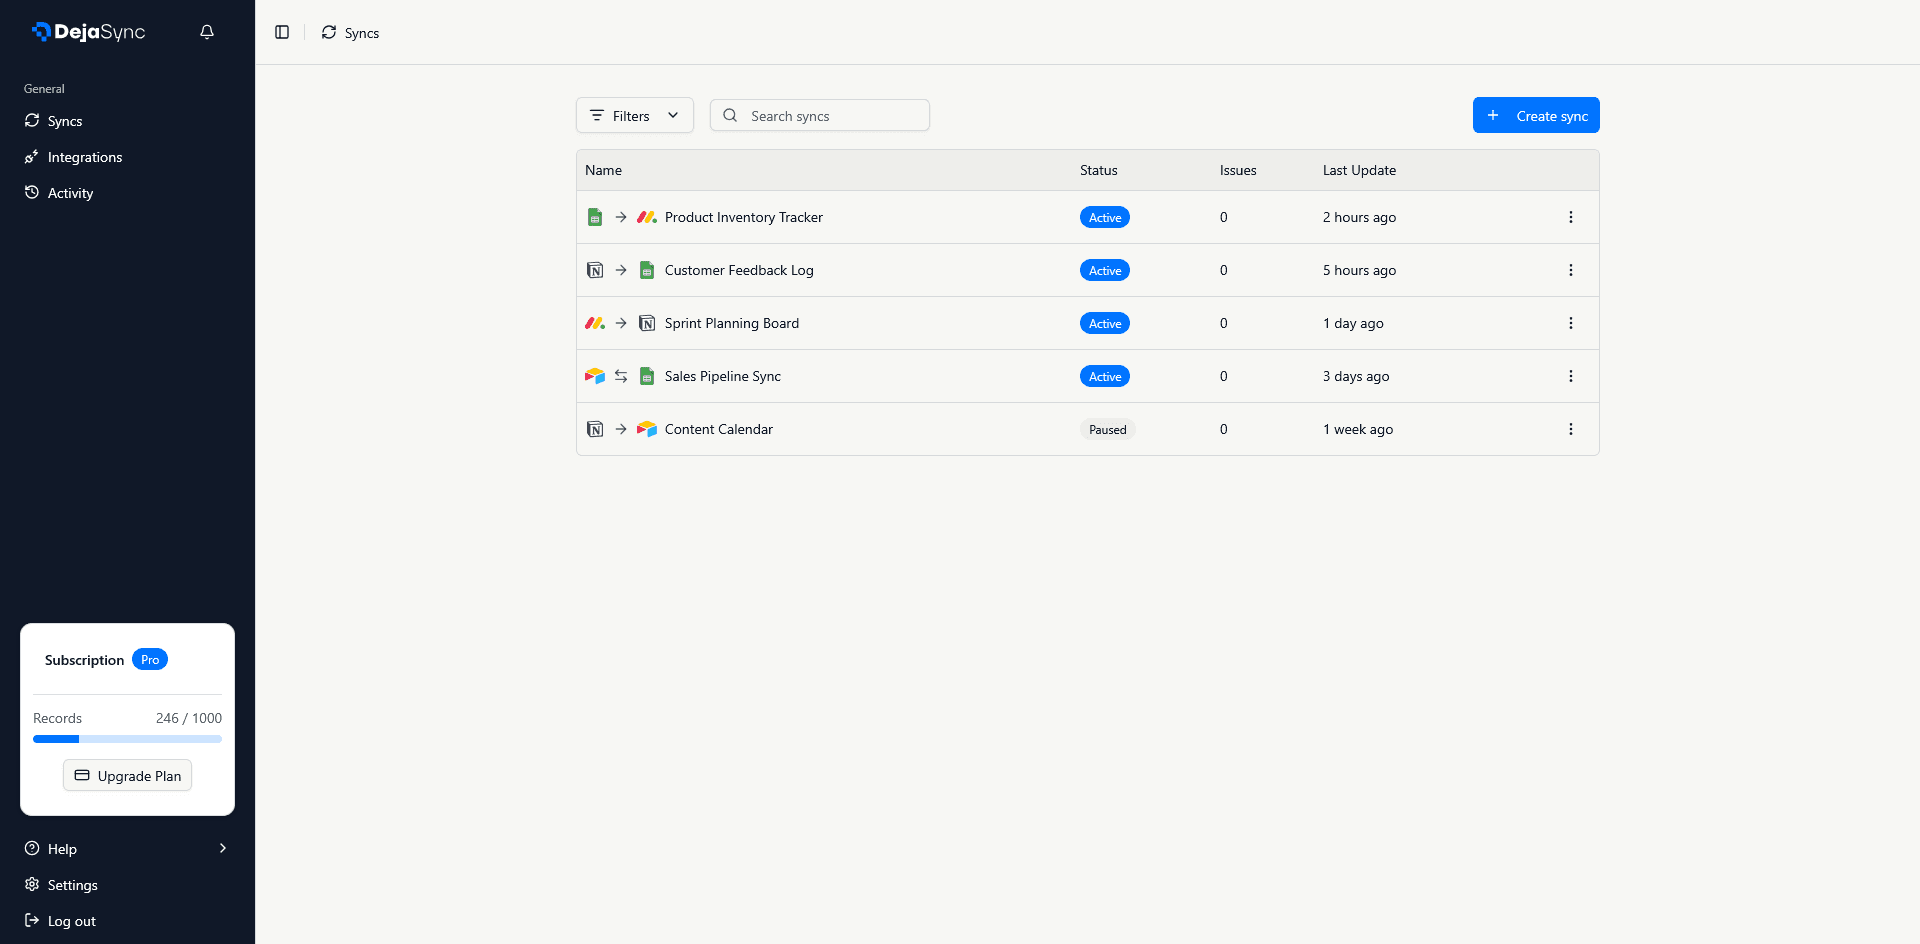
- Log in to your DejaSync account
- From the sidebar, click on Syncs
- Click the Create Sync button in the top right corner
This will launch the sync creation wizard that guides you through the entire setup process.
Step 2: Connect Your Apps
In this step, you'll select and connect the two applications you want to sync:
Selecting Your Apps
- Choose your first app from the left panel (e.g., Google Sheets, Notion, Airtable, or Monday)
- Choose your second app from the right panel
Connecting with OAuth
For each app you select:
- Click the Connect button on the app card
- You'll be redirected to the app's authorization page
- Grant DejaSync permission to access your data
- For Google Sheets: Allow access to your spreadsheets
- For Notion: Select which pages/databases to share
- For Airtable: Authorize access to your bases
- For Monday: Grant permissions to your boards
- You'll be automatically redirected back to DejaSync
Once both apps show a Connected status with a green checkmark, click Next Step to continue.
💡 Tip: You can connect to the same app type on both sides (e.g., sync between two different Google Sheets or two Notion databases).
Step 3: Map Your Fields
This is where you define exactly what data should sync between your apps:
Select Your Data Sources
-
Choose a workspace/base from the first dropdown for each app
- Google Sheets: Select your spreadsheet
- Notion: Choose your workspace
- Airtable: Pick your base
- Monday: Select your workspace
-
Choose specific tables/sheets to sync
- Google Sheets: Select the sheet tab
- Notion: Pick your database
- Airtable: Choose your table
- Monday: Select your board
Configure Field Mappings
DejaSync automatically detects and maps fields with matching names, but you have full control:
- Review auto-mapped fields - Fields with identical or similar names are automatically paired
- Adjust mappings - Click any field mapping to change which fields sync together
- Add new mappings - Click Add Field Mapping to manually pair additional fields
- Remove mappings - Click the X icon to remove unwanted field pairs
Set Sync Direction
For each table mapping, choose how data should flow:
- → One-way to right: Changes only sync from left app to right app
- ← One-way to left: Changes only sync from right app to left app
- ↔ Bidirectional: Changes sync in both directions (recommended for most use cases)
Field Type Compatibility
DejaSync shows compatibility indicators for each field mapping:
- ✅ Green checkmark: Fields are fully compatible
- ⚠️ Warning icon: Fields may have type mismatches (e.g., text to number)
- ℹ️ Info icon: Hover to see field type details
💡 Pro Tip: You can sync multiple tables at once by clicking Add Table Mapping to create additional table pairs.
Step 4: Review & Confirm
Before activating your sync, review the changes that will be made:
Preview Sync Changes
DejaSync analyzes your data and shows you exactly what will happen:
- Records to be added: New rows that will be created in each app
- Records to be updated: Existing rows that will be modified
- Sync direction: Visual arrows showing data flow between apps
Review each table mapping to ensure the changes match your expectations.
Configure Sync Settings
-
Name your sync - Give it a descriptive name (e.g., "Sales Leads: Airtable ↔ Notion")
-
Set sync interval - Choose how often data should sync:
- Manual: Sync only when you click the sync button
- Every 5 minutes: Near real-time synchronization
- Every 15 minutes: Frequent updates
- Every 30 minutes: Regular synchronization
- Hourly: Once per hour
- Daily: Once per day at midnight UTC
-
Review your plan limits - Check that your sync fits within your subscription's record limits
Activate Your Sync
- Click Confirm & Create Sync
- Your sync will be created and activated immediately
- The initial sync will run automatically, applying all the changes shown in the preview
🎉 Congratulations! Your sync is now active. You'll be redirected to the sync detail page where you can:
- Monitor sync activity and logs
- View sync history
- Pause/resume the sync
- Edit field mappings
- Manually trigger a sync
What Happens Next?
Once your sync is active:
- Initial Sync: DejaSync performs the first synchronization, applying all pending changes
- Automatic Updates: Based on your chosen interval, DejaSync continuously monitors for changes
- Real-time Sync: When changes are detected, they're automatically synced to the other app
- Activity Logs: Every sync operation is logged so you can track what changed and when
Understanding Sync Behavior
Unique Row Tracking
DejaSync uses intelligent row matching to ensure data stays in sync:
- Each row is tracked by a unique identifier
- Updates to existing rows are detected and synced
- New rows are added to both apps
- Deleted rows can be configured to sync or ignore
Conflict Resolution
When the same field is modified in both apps between syncs:
- The most recent change wins (based on timestamp)
- Both changes are logged in the activity feed
- You can review and manually resolve conflicts if needed
Record Limits
Your subscription plan determines how many unique records you can sync:
- Standard Plan: Up to 500 actively synced records
- Pro Plan: Up to 1,000 actively synced records
- Ultra Plan: Up to 5,000 actively synced records
Note: Updates to existing records don't count toward your limit - only unique rows are counted. Each field value synced between apps counts as one record, and updates are always unlimited.
Need Help?
- View Activity Logs: Check the Activity page to see detailed sync history
- Edit Your Sync: Click on any sync to modify field mappings or settings
- Pause Syncing: Use the pause button to temporarily stop a sync
- Delete a Sync: Remove syncs you no longer need from the sync detail page
For more detailed information about specific integrations, check out our integration guides:
Ready to get started? Create your first sync now →